Three Les Pauls Video Shoot – Behind The Scenes
I was just looking through some photos and came across these, taken during my shoot for my Three Les Pauls video. I was really happy with how that video turned out.
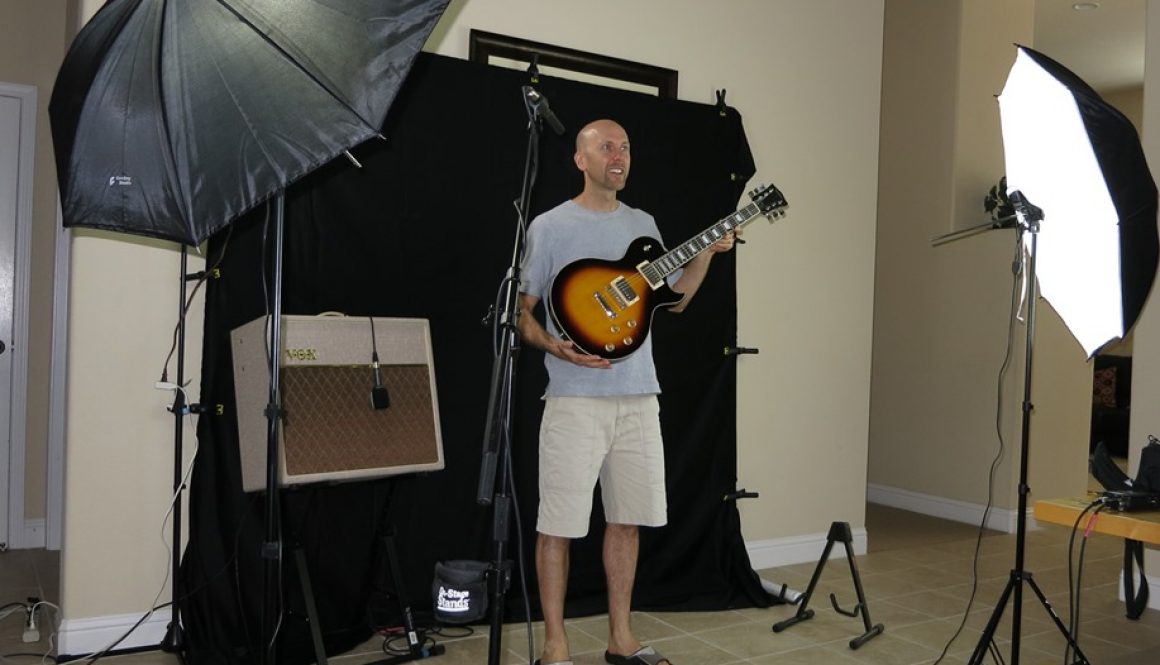
I was just looking through some photos and came across these, taken during my shoot for my Three Les Pauls video. I was really happy with how that video turned out.
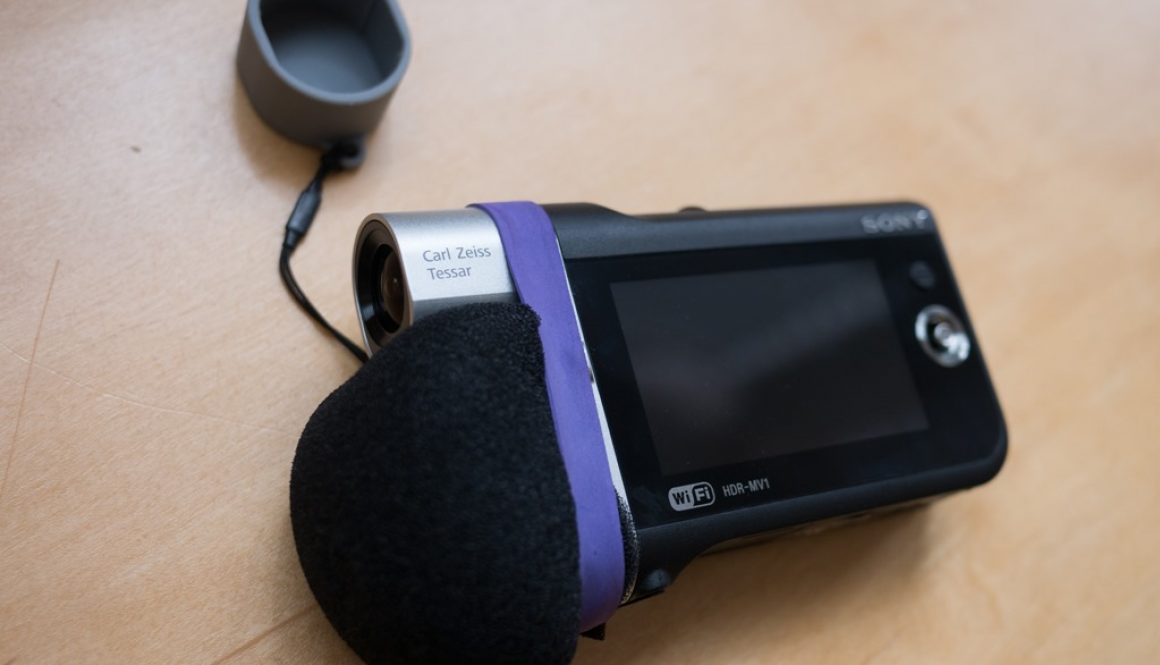

At this year’s NAMM show, I saw a new camera from Sony which intends to improve and simplify this- the HDR-MV1.
In addition to playing guitar and running the sound for my band, I’m also in charge of the cameras and making the videos. So I picked up an HDR-MV1 and have been using it for a few months to record some rehearsals and gigs. More
A carpenter once showed me a great trick with a toothpick. One of our doors was sagging, because the screws in the hinges were loose, and couldn’t be tightened. With a glint in his eye, he pulled out a handful of toothpicks from his pocket, saying “my secret weapon”. After removing the loose screws for the hinge, he stuffed a few toothpicks in each hole, cut them off flush, and then re-tightened the screws in the holes. Presto chango- it was all nice and tight. Sometimes the simplest solutions are the best!
In this video, I apply this simple trick to the tuners on my Epiphone Riviera P93. Some of these screws have been loose since day one – the kind of loose where no matter how much you try to tighten the screw, it just spins freely in the hole. The wood fibers in the hole are stripped out and no longer gripping the screw threads. One simple toothpick, inserted in each hole and cut off flush, just like that carpenter had shown me- and now the screws go in nice and tight. The soft wood of the toothpick makes the perfect filler. No glue necessary.
That same carpenter also shared these fine words of wisdom: “Caulk and paint are what a painter ain’t”, but that’s a story for another day
Here’s the table of contents for the whole DIY pedal building series:
In this final installment on finishing your own guitar effects pedals, I demonstrate how to print and apply the waterslide decal to the pedal, and apply a durable clear finish. In previous videos, I showed how to model, drill, and paint the enclosure, and design and prepare the artwork and labels in GIMP.
I use clear waterslide decal paper, and print on my inkjet Canon Pro9000mkII. After printing, and waiting a while to ensure the ink is dry, I spray on a few coats of Krylon Acrylic Crystal Clear acrylic to protect the ink during the soak. Then, after the clearcoat dries for 30 minutes or so, I trim the paper to final dimensions and soak the paper in warm water. When the decal starts to move freely from its backing, I wet the surface of the enclosure and slide the decal directly onto it. I iron out the bubbles with wet fingers, and adjust the decal into its final position, being careful not to stretch the decal.
Here’s the table of contents for the whole DIY pedal building series:
The next step in finishing up the pedal that we’ve modeled, drilled and painted previously, is to prepare the artwork and labels.
In this tutorial, I will demonstrate how to compose your pedal artwork in GIMP, the free GNU Image Manipulation Program. I’m using GIMP 2.8.2 on Windows, but it also runs on Mac and Linux. More
In previous posts, we modeled the enclosure in Sketchup, drilled it, and now we’re ready for paint and artwork. In this video, I talk about options for finishing the enclosure, and choices for art and labels. Then I demonstrate surface prep, priming and painting, in preparation for the waterslide decals. More
Now that we’ve modeled the enclosure and printed a drilling template, we’re ready to jump out of Sketchup and into the real world.
In this video, I’ll be demonstrating how to accurately drill the holes in a diecast aluminum 125B guitar pedal enclosure, preparing to install the electronics. I’m using the drilling template we printed in part 2. The pedal I’m building is a modified Ross compressor, using a printed circuit board purchased from GuitarPCB. More
Here’s the table of contents for the whole DIY pedal building series:
This is part 2 of my new series on building guitar effects pedals.
This part of the project ended up being far more grandiose than I originally intended. I started out planning to just show how to model this diecast aluminum 125B guitar pedal enclosure, to make sure my PCB and components would fit properly inside. But by the time I was done with it, it was essentially a complete beginner’s how-to course for Google Sketchup. (Note, Sketchup is now part of Trimble instead of Google). More
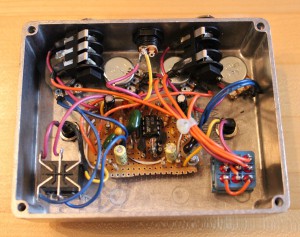
Then hopefully later, I’ll go back and do a project showing how to build a simple boost pedal from scratch.
Here’s the table of contents for the whole DIY pedal building series:
This first video is the motivational intro: here are some of the things I’ve done, and yes, you can too! If you have some interest in electronics and guitars, what better way to improve your knowledge? You can get started with little or no electronics experience, and you’ll learn a bunch along the way. More
Back in 2009, I described my frustration with the Tune-o-matic bridge on my Epiphone Riviera P93. The retainer wire that holds the saddle screws in place is just a terrible design. A good choice to address this issue is the Nashville style tune-o-matic which has individual saddle retainer clips, while also increasing saddle-adjustment range for intonation. Another good possibility is a roller bridge, like the Wilkinson B33. I figured the roller may pair well with the Bigsby, possibly improving the Bigsby vibrato’s general tuning instability.
In this video, I show how to swap in the Wilkinson bridge, and then do a series of comparisons to see if there’s any difference in the overall tone, sustain, and tuning stability with the two bridges. More