Pedaltrain-Inspired DIY Pedal Board
This was my old SKB PS-25 pedal board, mid-2012.
After the pedalboard power supply died last year, I purchased a Visual Sound 1 Spot, and continued using the old SKB just as a convenient velcro surface to hold my pedals.
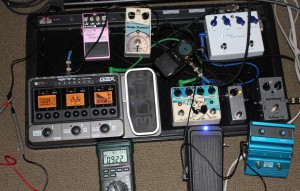
Even so, I needed more space. I have been intrigued by the Pedaltrain Pro– but the price is high for such a simple thing.
Time for some creative woodworking! I rarely get a chance to combine my woodworking and guitar hobbies.
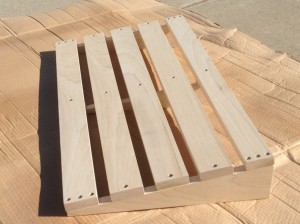
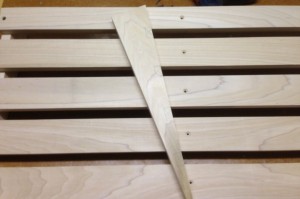
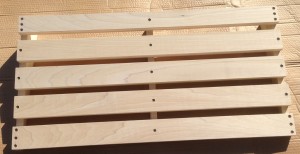
I had some rough poplar lying around from another project, so I thickness-planed it down to a bit under 3/4”. I cut five 32” long strips, around 2.5” wide on the table-saw. Then I cut 3 triangular leg supports, 16 1/4″ in length, and tapering form 2 1/4” to just 1/4” (more on the taper jig below). Wood flexes more than aluminum, so this approach with 3 leg supports will provide a sturdier base in wood, than the PedalTrain’s single back-edge support. Avoiding flex is important when you consider how much force is required to kick on a wah pedal, etc.
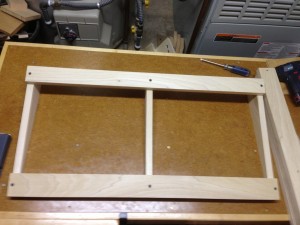
I’ll come back and add a few more holes later, for stability.
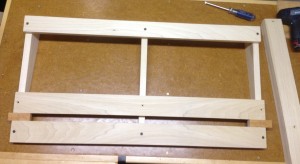
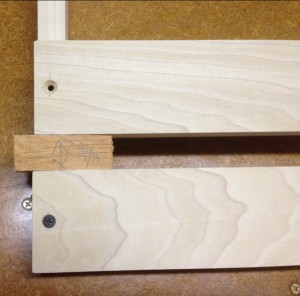
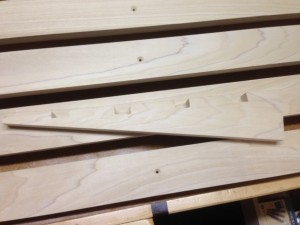
Once the pedal board is fully assembled and loaded up with pedals, there will be wires running everywhere. So to give a little more space for routing the wires through the gaps in the center leg, it’ll be helpful to cut some notches.
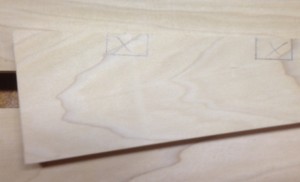
I marked X’s in the notches to remind myself where the waste would be.
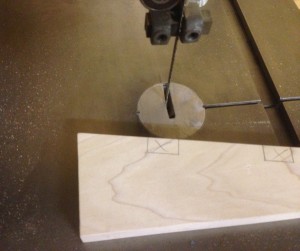
Then I used a bandsaw to cut the notches in the center leg. A jigsaw or handsaw would’ve worked fine too.
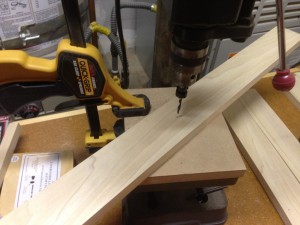
For good side-to-side stability, to avoid racking, I drilled an additional 2 holes at the top and bottom of the two side legs.
Should’ve done this earlier at the drill-press, but better late than never!
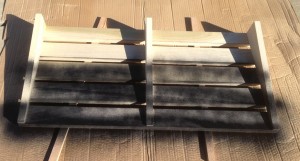
As is inevitable in quick projects like this- only after finishing did I realize that the whole thing was a bit too tall. With a few pedals resting on the back of the pedal board, I felt like I was having trouble balancing, while raising my foot so high in the air.
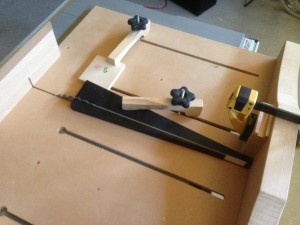
I removed all the screws and took the legs back to the table-saw to down-size a bit. I clamped a couple of spacers to my cross-cut sled to make a simple taper jig. I had originally made them 3” tapering to 3/4”- here I’m reducing them to their final size of 2 1/4” tapering to 1/4”.
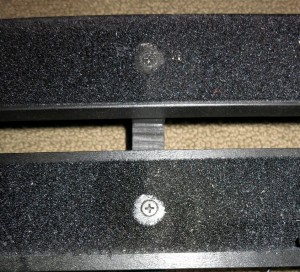
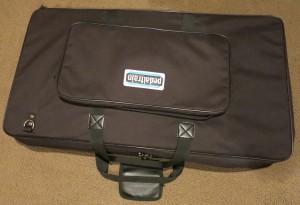
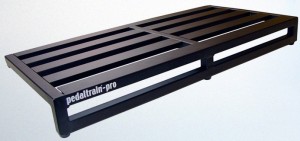
I enjoyed the project, and it’s rock solid.
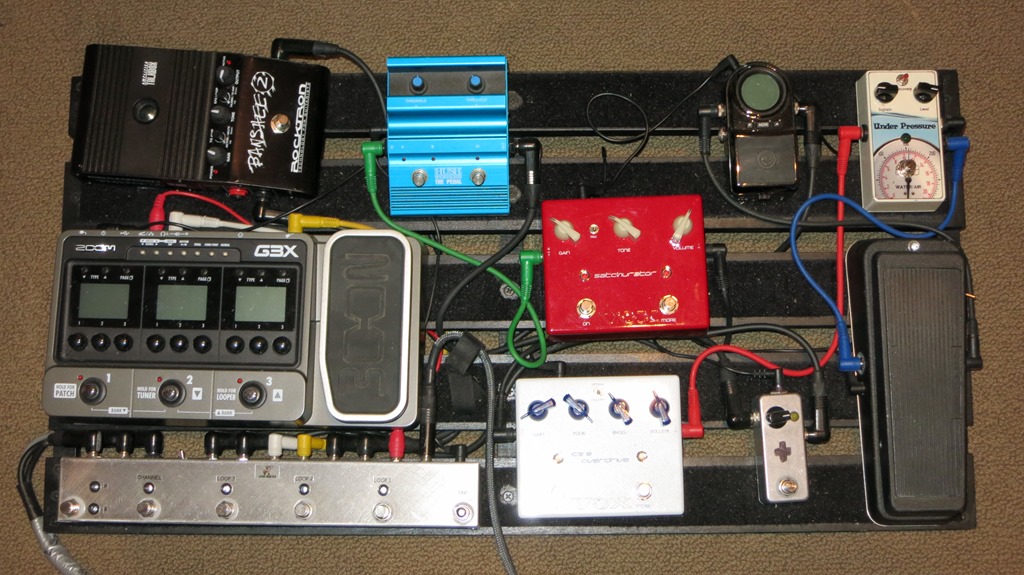
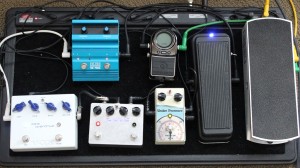
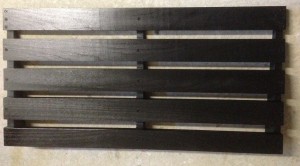
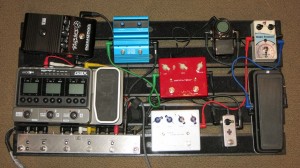
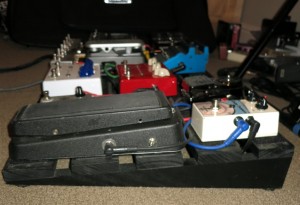
In the last year, I’ve used this pedal board at dozens of rehearsals and gigs, and it has held up great. Here are a couple shots of my current pedal board:
November 1, 2014 @ 1:41 pm
After building several effects I also need to undertake such a project. I’ve seen a few of these online, some of which are just made from a cheap piece of Ikea shelving, but I like how you’ve created the slope, it seems like the perfect profile.
November 1, 2014 @ 4:05 pm
Yes the slope definitely feels right.
There’s nothing wrong those simple Ikea shelf pedalboards- I’m sure you could find a good way to make some sloping legs. If the pedal board is relatively small, you can just run a piece lengthwise along the back to tilt the whole board up.
-John
November 2, 2014 @ 6:17 am
I made a slope for my Ikea “Gorm pedalboard” simply by attaching larger rubber feet at the back. Works great!
November 25, 2014 @ 6:00 pm
Genius production.
Pedal board thoughts - Page 2 - MarshallForum.com
August 18, 2015 @ 6:06 pm
[…] is documented here and the end result is much better than any variation of the Ikea shelf DIY. Pedaltrain-Inspired DIY Pedal Board – Planet Z __________________ Marshal DSL40C (C19 mod & G12H-75 Creamback) Martin CDCPA4R Gibson LP […]
April 21, 2016 @ 7:23 am
Firstly, thank you for such a fantastic and step-by-step plan. I’d really like to try this myself. The only measurement I’m missing is for the length of the triangular supports. I realise it’s been a while since you put this up, but if you have the measurement anywhere I’d be truly grateful. Thanks again for a great plan!
April 22, 2016 @ 11:18 am
Hi Henry-
I just measured them- and they are a 16 1/4 inches long, but you can size them shorter/longer to suit your needs.
Enjoy.
John
April 22, 2016 @ 11:21 am
I just updated the article with that measurement. Thanks for pointing out the omission!
Rig Redo- Zoom G3X, Loop Master True Bypass Switcher - Planet Z
March 26, 2017 @ 9:55 am
[…] built a new pedal board with the Zoom G3x and looper switcher. As you can see, I still prefer my outboard compressor, […]