Garden Arbor Bench Project
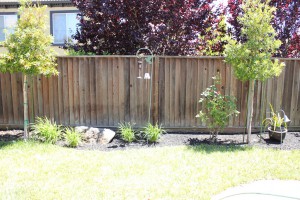
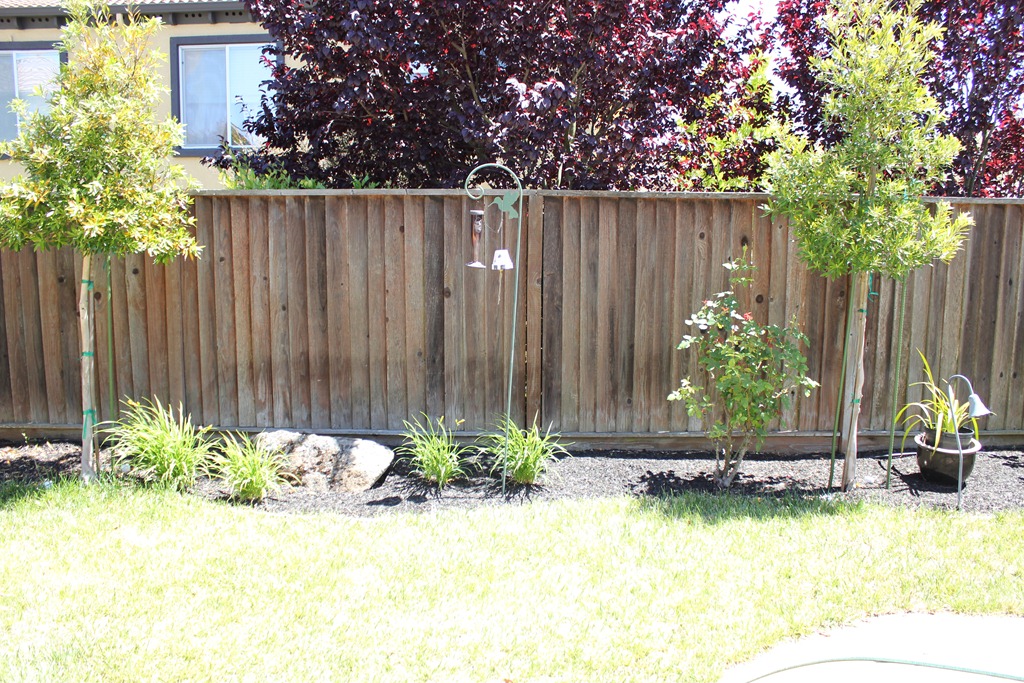
At the beginning of June, Chunling hinted that she’d like something to go between these two Tristania Laurina trees along our fence – perhaps a nice shady place to sit.
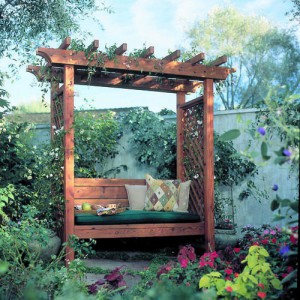
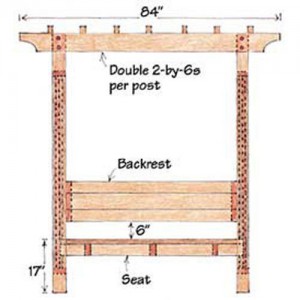
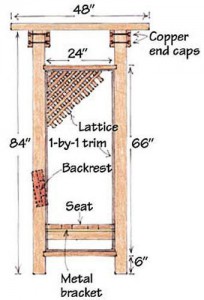
One morning, she pointed out a design she liked from Sunset magazine:
Chunling’s birthday was approaching, and this looked like a nice small-ish woodworking project that I could kick out relatively quickly, so I decided to go for it. Most woodworking projects I undertake are more the indoor-fine-furniture variety, which take me months to painstakingly prepare and execute. Now, here’s an outdoor project, where it’s gonna get all beat up by the elements anyway, so there’s less pressure for perfection. I figured I could get it done in a weekend. The reality was more like two and a half weekends, but still, that’s better than months 🙂
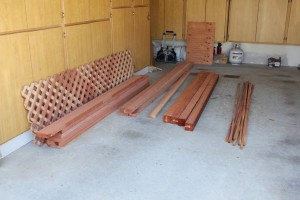
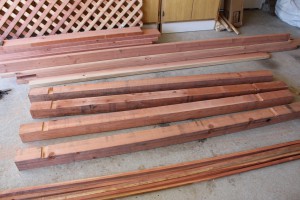
I bought the redwood at Home Depot. It was hard to find perfect pieces- a lot of it was pretty rough. Also some boards were much greener/wetter than others. A few of those 4x4x8’s weighed a ton, and literally spit up water when being cut on the table saw.
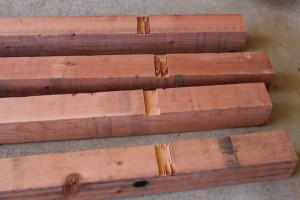
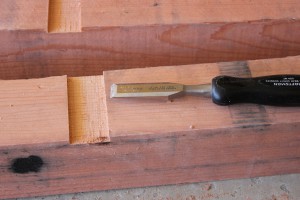
First job was to prepare the four posts for assembly. After several crosscut passes on the table saw, I cleaned out the slots with a chisel:
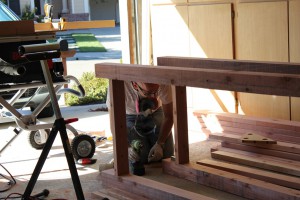
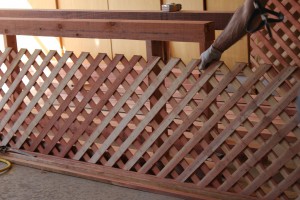
Then the crosspieces fit nicely in the slots. I’m checking for square with my trusty try square, and driving in some 3 inch deck screws to hold them in place. Then, getting ready to cut the lattice panel and 1×1’s to size.
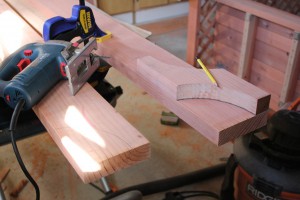
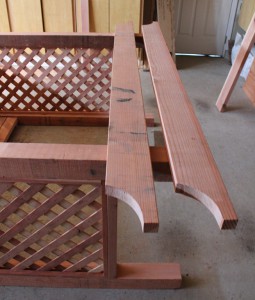
Next up, I traced various round objects like a paint can and a bottle of peanut butter to find a pleasing curve for the headers. Then, I jigsaw’d the curve onto a template (a cutoff from the header board, so it was the same width as header). With the template, I could quickly trace an identical curve onto each board.
Sanding is one of my least favorite parts of woodworking, and this one was especially laborious. Lesson learned, next time, sand down all the pieces before assembly! There were some black stains on the wood (I guess from contact with metal) that were really tough to get out, especially after it was partially assembled. I went through a bunch of 60-grit papers on my random orbit sander.
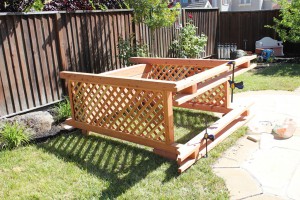
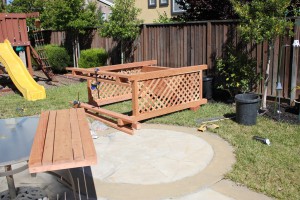
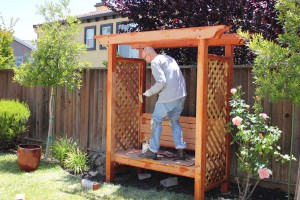
Anyway, after lugging all the pieces from the garage to the backyard, it was time for final assembly. You can see in the foreground, I modified the back-rest assembly from the Sunset design, to be longer for more back support.
Finally, after letting the whole thing dry out for a week, it was time to finish it with a coat of Preserva-Wood redwood colored stain.
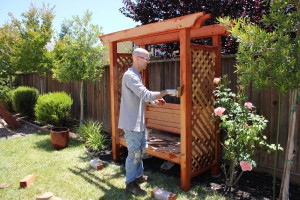
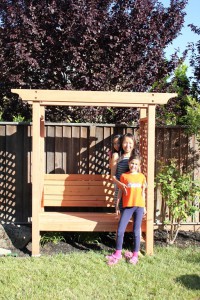
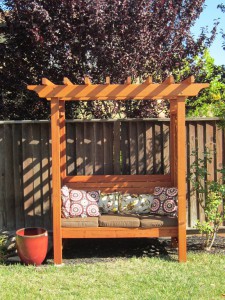
Here’s a picture of Chunling and the girls with her birthday present – that was before staining the redwood. Then, followed a couple weeks later (on my birthday), after staining. And finally, a few more weeks later, with the top 2×3’s all screwed in place, and a set of pillows.
Interesting to see the color differences- the first is raw sanded redwood, the second is freshly stained, and the third is after for a few weeks. The position of the sun and cloudcover also factor into the appearance. (The middle picture was at dusk, and a bit overcast).
Mission accomplished! Chunling was surprised how quickly I got this all done for a change, and she loves the finished bench. On to the next project 🙂

June 28, 2014 @ 8:10 am
Love it, but where’s the materials list? Ha ha, I want to make one for my mom!
June 29, 2014 @ 11:06 am
This design came from Sunset magazine. Here’s the link, with the materials list:
http://www.sunset.com/garden/backyard-projects/garden-arbor-bench
Good luck with the project. I’m sure your mom will enjoy it!
-John